
November, 2022: I Was Very, Very Bored
In September, I had moved to a new country to pursue a degree in Engineering. By the time November came, all my excitement worn out and I found myself staring blankly at Calculus slides in class.
All I was doing was assignments and learning how to live by myself. Which was fine, but I wasn’t feeling like me.
That’s when I got to know that my university had a financial support system for projects, where basically they allocated a fund for each student which could be used to finance a “Cornerstone” project. While Cornerstone didn’t count as an academic project (no credit or anything), it would still have to be supervised by a Professor.
Building stuff while university picks up the tab? Sign me up.
I texted a classmate who was well versed in coding and started discussing with him what project we can start (Cornerstone requires two people at least). Our wild idea? Building a robot that could play unique AI-generated musical compositions on a MIDI Keyboard. For me, it was an opportunity to rebuild a version 2 of Prima, the robot I made long ago to play a MIDI keyboard.
Alfa, my partner in the project, was responsible for the A.I model for generating unique musical composition. And I were to make the mechanical prototype, the controller circuit and write the firmware for it. In this build log, I will mainly be talking about my part only.
Professor Nisar and Professor Sato kindly agreed to be our supervisors, whose advices and insights were incredibly helpful throughout the project.
The proposal didn’t take long to be approved, and in a few days, we were all good to go.
December, 2022: Starting With the Fingers
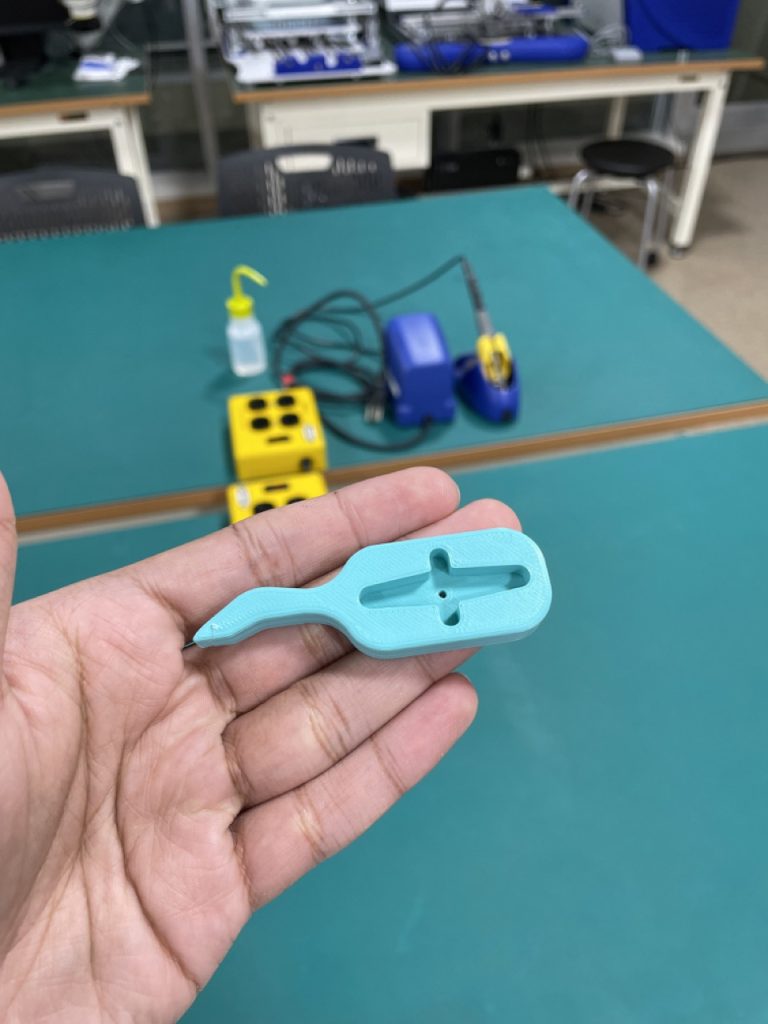
In the first week of December, the materials of our project started arriving. The NVidia Jetson Nano (for AI Model development), the micro servos and the Alesis Q49 MIDI Keyboard were there already there, so I decided to get started by doing a rough sketch of the concept, and then design the finger.

Mimicking the human hand design, we were planning on having five fingers for playing the keyboard.

This simple design took me two weeks to make, because I wanted to use Autodesk Fusion360 to design components from the get go – something I never used before. It slowed down the development quite a bit initially, but there was a pretty good justification behind that.
In the first version of Prima, I used TinkerCAD so I wasn’t exactly new to the process of making CAD models. However, I knew TinkerCAD was an entry-level tool and if I wanted to do serious designs one day, it would be bottlenecking me at every step. So I made the choice to go with Fusion360. And that really paid off big time afterwards, I realized TinkerCAD was nothing but a toy compared to Fusion.
Anyway, I printed the first finger.

Which didn’t work out. The length was too short and the servo mounting grooves didn’t fit.
That’s okay, I’ll get it right eventually – I told myself.
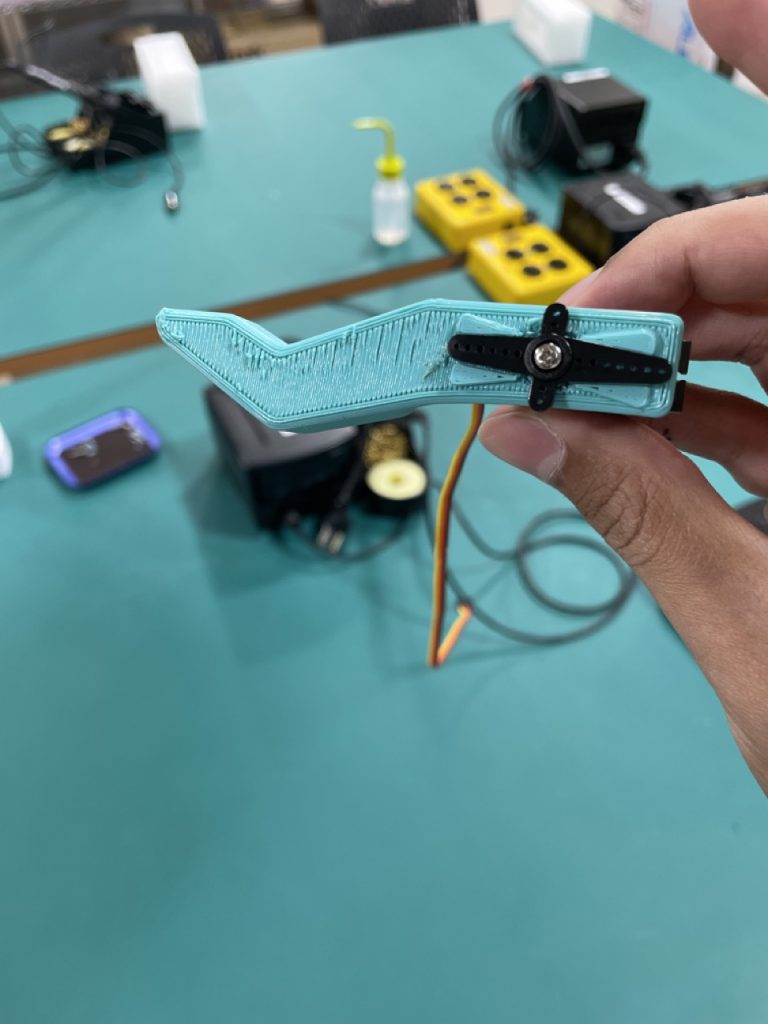
In the next two weeks, I went through a couple of iterations. That’s the best part of having access to a 3D printer at university, you could do a lot of rapid prototyping at a very short time.


January, 2023: Fingers Done, But Made Bad Bad Design Decisions
At the seventh iteration, I finally managed to get an okay-ish performance. It wasn’t pretty, but it worked.


So I set off to print four more and design a base to fix them on the Linear Actuator. Messed up the spacing between each fingers at the first attempt because apparently the keyboard model I downloaded from the internet didn’t match with the one we had.


I ended up taking measurements of our keyboard and making a CAD model of it myself, to design the “arm” around it.

Which worked perfectly. Lesson learned, always cross check your CAD models’ dimensions with the real objects.
In the meanwhile, the Linear Actuator also arrived. So I wired up the motor driver, uploaded a test code on the Arduino and watched it start.
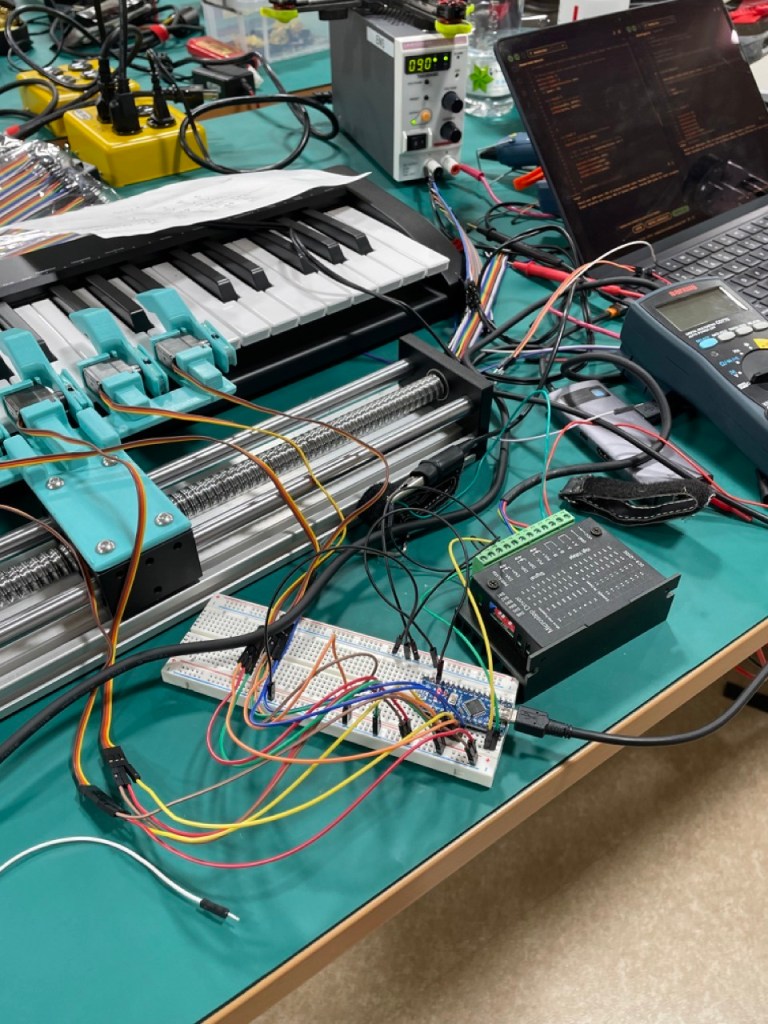
That’s when we realized we made our first major mistake with the design….
The actuator was noisy and terribly slow.
Why? Because that’s just the way ball-screw linear actuators are.
We originally decided to go with a belt-driven linear actuator like this –
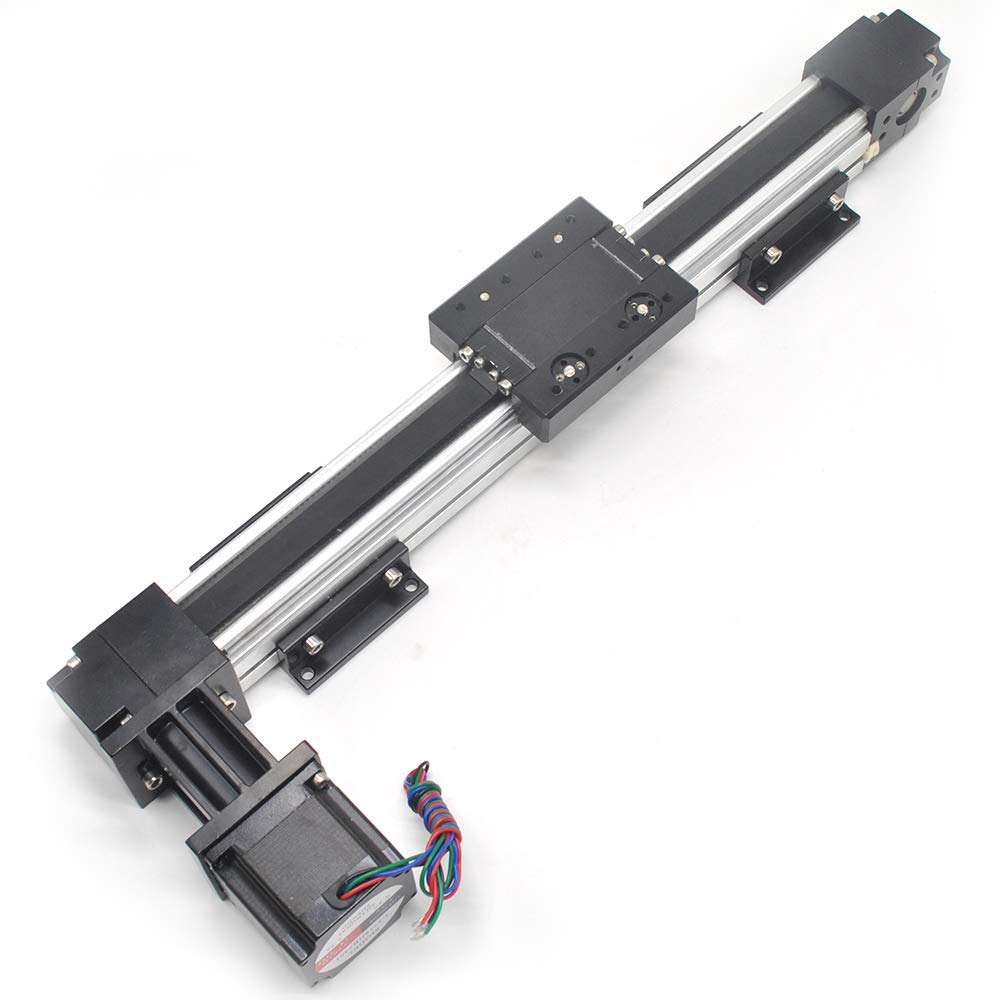
They were fast. And perhaps less noisier than ball-screw?
But we had a very hard time finding one online (locally sold) and when we finally found one that matched our requirements, the vendor cancelled the order after a few days without giving us any reason. I was reluctant about going with a ball-screw actuator (which was available).
But as we couldn’t find anything else that met the criteria, I decided to go with it. In retrospect, we should’ve just built our own, not like it’s that hard.

Anyway, we didn’t have the budget or time to replace this with a belt-driven one, so we decided to do our best with the ball-screw actuator. Even though it never really quite worked out.
February, 2023: Disappointing Performance…

The deadline of project completion was coming up, but we were having a hard time optimizing the speed and reducing the noise. I learnt a ton about how stepper motors work and how to drive them in the process, but we were not really being able to make it as fast as we wanted it to be. Moreover, the fixed spacing five-finger design also turned out to be problematic as the actuator wasn’t moving it sidewise fast enough to churn out melodies seamlessly.
Our first demo was disappointing. It looked like this.
I worked on it on and off throughout February – or that’s what I like to think. To be frank, I was just scratching my head trying to think of ways to improve the speed+reduce the noise while staring at the actuator blankly.
March, 2023: Slightly Better Result
After a couple of other (failed) approaches, turned out slowly accelerating and decelerating stepper motors can get me a higher RPM without jamming. It was a pain the neck to implement in the code. But I got it to work.
Compared to what we started out with, this isn’t that bad. The speed is faster, and the melody is being played somewhat fluently.
However, let’s compare it to something that I made when ✨ I was younger, didn’t have access to a 3D printer, and with 1/20th the cost of this project. ✨
See? That’s why the title says Prima V2: I Rebuilt It, But Worse…
Anyway, as far as the Cornerstone project goes, that was it for us. I added some aesthetic touches for fun.


We did a final presentation on Open Campus Day and wrapped it up.
The End: How I Feel About It

If I were to be honest, I have mixed feelings about this project. On one hand, this is the project that kickstarted my journey with Autodesk Fusion360 and 3D printing. Sure, I had some prior experience with CAD and 3D printing while starting. But nowhere as intense as what I had to do for this.
On the other hand, I don’t really feel like I lived up to my expectation. We started with the objective to do it better than everyone else, and we ended up doing worse than the average. I feel like I’m capable of doing a much cleaner design, but somehow did a terrible job with this one.
But that’s okay. Failures are how we learn, right?
This one isn’t going to my hall of fame for sure. That being said, what I learnt from the mistakes I made here will definitely lay out the foundation for my future Hall-of-Fame-worthy projects.
This particular project is certainly not going to my personal hall of fame, no. With that being said, what I learnt from the mistakes will undoubtedly serve as the bedrock for future projects. Which, who knows, may earn that status.
At least I wasn’t bored at university for a few months, lol.